Let’s be real for a moment. The glorious, buttery aroma of freshly made popcorn is one of life’s simple joys. The sound of kernels exploding in a crystal-clear glass popper is pure movie night magic. The cleanup afterwards? Not so much. If you’ve ever stared at a greasy, cloudy, or slightly burnt-on film on your beautiful popper, you’ve probably wondered What Is The Best Way To Clean A Glass Popper to restore its former glory. You’re not alone, and thankfully, the answer is easier than you think. It’s not about harsh chemicals or endless scrubbing; it’s about using the right technique to keep your popcorn tasting pure and your popper looking pristine.
Why a Spotless Glass Popper Makes Better Popcorn
You might think a little leftover oil is no big deal, but it is. A clean popper isn’t just about looks; it’s the secret ingredient to consistently perfect popcorn.
- Purity of Flavor: Leftover oil can go rancid, giving your fresh batch a stale, burnt, or just plain off taste. A clean slate ensures the only things you taste are the fluffy kernel, the rich butter, and your chosen seasonings.
- Optimal Performance: A greasy film can cause uneven heating. This leads to more un-popped kernels (we call those “old maids” in the popcorn world) and increases the risk of scorching the ones that do pop.
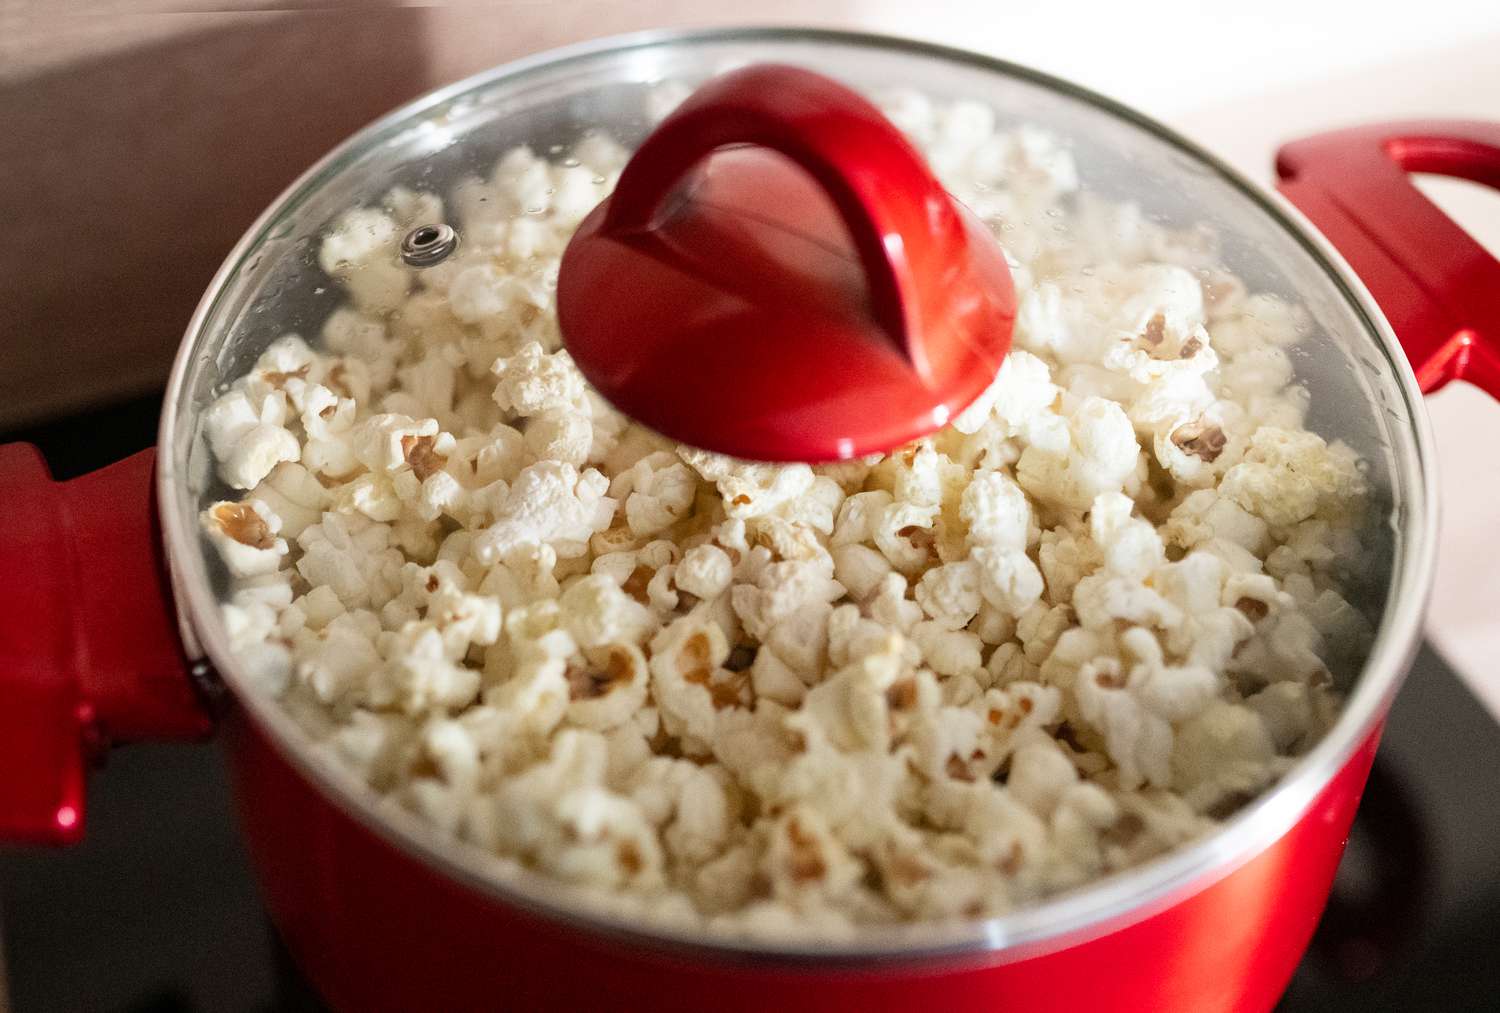
- The Joy of the Show: Let’s face it, one of the best parts of a glass popper is watching the popcorn explosion. A cloudy, grimy popper robs you of that satisfying visual experience.
“The biggest enemy of great popcorn isn’t the kernel or the heat—it’s the residue from the last batch,” notes home-entertaining expert, David Chen. “Starting with a sparkling clean popper is the first step in any pro-level popcorn recipe.”
Gathering Your Cleaning Toolkit
Before you roll up your sleeves, let’s get your gear in order. You won’t need anything harsh or expensive. In fact, you probably have everything in your kitchen right now.
- Gentle Dish Soap: A reliable, grease-cutting soap is your first line of defense.
- Baking Soda: The star player for tackling tough, stuck-on grime without scratching the glass.
- White Vinegar: Its mild acidity helps break down mineral deposits and leaves a streak-free shine.
- A Non-Abrasive Sponge or Cloth: A microfiber cloth or a soft sponge is essential to avoid scratches. Never use steel wool or harsh scouring pads.
- A Bottle Brush or Soft-Bristled Brush: Perfect for getting into tricky corners or cleaning the inside of a stovetop popper’s lid.
- Warm Water: The universal solvent that gets the whole process started.
The Best Way to Clean a Glass Popper: A Step-by-Step Guide
Cleaning your glass popper can be broken down into two main routines: the quick daily wipe-down and the occasional deep clean for when things get a little out of hand.
For Everyday Cleaning (The 2-Minute Drill)
Doing this after every use will prevent 90% of buildup and make deep cleaning a much rarer event.
- Cool It Down: This is critical. Never, ever introduce cold water to a hot glass popper. The sudden temperature change, known as thermal shock, can cause the glass to crack or even shatter. Let it cool down to room temperature on the stove or counter.
- Initial Wipe: Use a paper towel to wipe out any excess oil and leftover kernel bits.
- Soapy Wash: Fill the popper with warm water and a few drops of dish soap. Let it sit for a few minutes to loosen any grease.
- Gentle Scrub: Use your soft sponge or cloth to wash the inside and outside of the glass.
- Rinse and Dry: Rinse thoroughly with warm water and dry with a clean microfiber cloth to prevent water spots.
For Deep Cleaning (Tackling Stubborn Residue)
Did you get distracted and leave the oil on a bit too long? Is there a stubborn, yellowish film that just won’t budge? It’s time for the baking soda deep clean. This is what is the best way to clean a glass popper when it’s seriously grimy.
- Create a Paste: In a small bowl, mix about half a cup of baking soda with just enough warm water to form a thick, spreadable paste. Think the consistency of toothpaste.
- Apply the Paste: After your popper has completely cooled, spread the baking soda paste over the grimy areas on the inside of the glass. Pay special attention to the bottom and any brown or sticky spots.
- Let It Sit: Let the paste sit for at least 15-30 minutes. For really tough, baked-on oil, you can leave it for a few hours or even overnight. The baking soda will gently work to break down and lift the grease without scratching.
- Scrub Gently: Moisten your non-abrasive sponge and gently scrub the areas covered in the paste. You should feel the grime coming loose. Use a circular motion for best results.
- Rinse and Repeat if Needed: Rinse the popper thoroughly with warm water. If some stubborn spots remain, you can repeat the process.
- The Vinegar Rinse (For Extra Sparkle): To remove any final residue and ensure a crystal-clear finish, pour about half a cup of white vinegar into the popper. Swirl it around, let it sit for a minute, and then rinse thoroughly with warm water.
- Final Dry: Dry completely with a microfiber cloth for a brilliant, streak-free shine.
How Do I Clean Different Types of Glass Poppers?
While the core principles are the same, different models have their own quirks.
Cleaning a Stovetop Glass Popper
These often have metal lids and stirring mechanisms. Make sure you clean these parts, too, as oil can splatter and bake onto them. The lid and gears can often be washed separately with warm, soapy water. Use a small brush to get around the nooks and crannies of the stirring assembly.
Cleaning a Microwave Glass Popper
These are typically simpler in design. Many high-quality microwave poppers, like those made from borosilicate glass, are dishwasher-safe (top rack only!). However, handwashing is always the gentlest method. For baked-on butter or oil, the baking soda paste method works wonders.
Common Cleaning Mistakes to Avoid
- Using Abrasive Scrubbers: Steel wool, green scouring pads, and harsh powders will create tiny scratches in the glass. These scratches not only look bad but can also trap oil and bacteria, making the popper harder to clean over time.
- Using Harsh Chemicals: Oven cleaner or bleach are overkill and can damage any plastic or silicone parts of your popper. Stick to soap, baking soda, and vinegar.
- Forgetting to Cool It Down: We’ll say it again because it’s that important. Rushing this step is the fastest way to a broken popper and a broken heart.
- Neglecting the Lid: Don’t forget to clean the lid! Steam and oil can create a film on the inside that will drip down into your next batch.
Frequently Asked Questions (FAQ)
Q: Can I put my glass popcorn popper in the dishwasher?
A: It depends on the manufacturer. Many microwave glass poppers are top-rack dishwasher safe, but always check the manual first. Stovetop poppers with wooden handles or complex gear mechanisms should almost always be hand-washed. When in doubt, handwashing is the safest bet for longevity.
Q: How do I get the smell of burnt popcorn out of my popper?
A: The vinegar rinse is your best friend here. After cleaning with soap and water, swirl a mixture of half white vinegar and half water inside the popper. Let it sit for about an hour, then rinse thoroughly. The vinegar will neutralize the burnt odor.
Q: My glass popper looks cloudy. How do I fix it?
A: Cloudiness is often caused by hard water mineral deposits. A simple rinse with white vinegar will usually cut through the mineral buildup and restore the glass’s clarity. Rinse well with water afterwards.
Q: Is it safe to use baking soda on my glass popper?
A: Absolutely. Baking soda is a mild abrasive, which means it’s strong enough to lift grime but gentle enough that it won’t scratch the glass. It’s a fantastic, non-toxic cleaning agent for all kinds of kitchenware.
Q: What is the best way to clean the oily film off my popper?
A: For a light oily film, warm water and a good grease-cutting dish soap are sufficient. For a more stubborn, baked-on oily film, the baking soda paste method described in our deep cleaning guide is the most effective solution.
A Clean Popper is a Happy Popper
Taking a few minutes to care for your glass popper after each use is a small investment that pays off with delicious, perfectly cooked popcorn every time. It keeps your kitchen centerpiece looking beautiful and ensures that every movie night, game day, or casual Tuesday snack session is as tasty as the last.
Now that you know what is the best way to clean a glass popper, you’re equipped to keep your machine in top-notch condition for years of popping to come. Happy popping! We’d love to hear your own tips or favorite popcorn recipes in the comments below.