There’s something magical about the aroma of kettle corn wafting through the air at a state fair or farmers’ market. That perfect, irresistible balance of sweet and salty, with a satisfying crunch that keeps you coming back for more. But what if I told you that you don’t have to wait for the next local event to get your fix? Learning How To Make Kettle Corn At Home is not only possible, it’s a game-changer for your movie nights. Forget those sad, pre-packaged bags; we’re talking about fresh, warm, and utterly addictive kettle corn made right in your kitchen. And the secret weapon to achieving that authentic, fairground-quality taste? It’s all about the right equipment and a few insider tricks.
Why You Need a Popcorn Maker for Perfect Kettle Corn
Let’s be real for a second. You could try making kettle corn in a regular pot on the stove. Many have tried, and many have ended up with a smoky kitchen, a burnt layer of sugar welded to their favorite pan, and a bowl of half-popped, half-scorched, sticky kernels. The challenge with kettle corn is timing and constant motion. You need to heat the oil, pop the kernels, and melt the sugar into a delicate coating, all without burning anything. It’s a delicate dance.
This is where a dedicated popcorn maker becomes your best friend.
- Consistent Heat Distribution: Most popcorn makers are designed to heat evenly, preventing the hot spots that instantly burn sugar in a standard pot.
- Built-in Stirring: Stovetop popcorn makers (like the classic Whirley-Pop) have a crank that keeps the kernels and sugar constantly moving. This is the number one key to preventing burning and ensuring every kernel gets a light, even coating.
- Controlled Environment: A popcorn maker contains the splattering oil and flying kernels, making the process cleaner and safer. You’re not dodging hot sugar shrapnel.
- Better Results, Less Stress: Ultimately, using the right tool for the job removes the guesswork and frustration. You get delicious, perfectly cooked kettle corn every single time.
What Are the Best Types of Popcorn Makers for Kettle Corn?
Not all popcorn makers are created equal, especially when sugar enters the equation. Here’s the lowdown on which types are champs and which should stay on the bench for this particular recipe.
Stovetop Popcorn Makers
These are, hands down, the top contenders for homemade kettle corn. Models with a hand-cranked stirring mechanism are specifically designed to handle ingredients like sugar. The constant motion is non-negotiable for that perfect sweet and salty popcorn. They give you excellent control over the heat and the entire cooking process.
Electric Stirring Popcorn Makers
These are the countertop cousins of the stovetop models. They feature a motorized stirring rod that moves across the bottom of the heating plate. This automates the stirring process, making them incredibly convenient. Just ensure you choose a model with a non-stick surface for easy cleanup.
What About Hot Air Poppers?
We love hot air poppers for a healthy, oil-free snack, but they are a no-go for traditional kettle corn. You cannot add sugar, oil, or salt directly into the popping chamber. Doing so will damage the machine and create a sticky, burnt mess. You could try drizzling a sugar syrup over the popped corn, but you’ll never achieve that authentic, cooked-on crunchy coating.
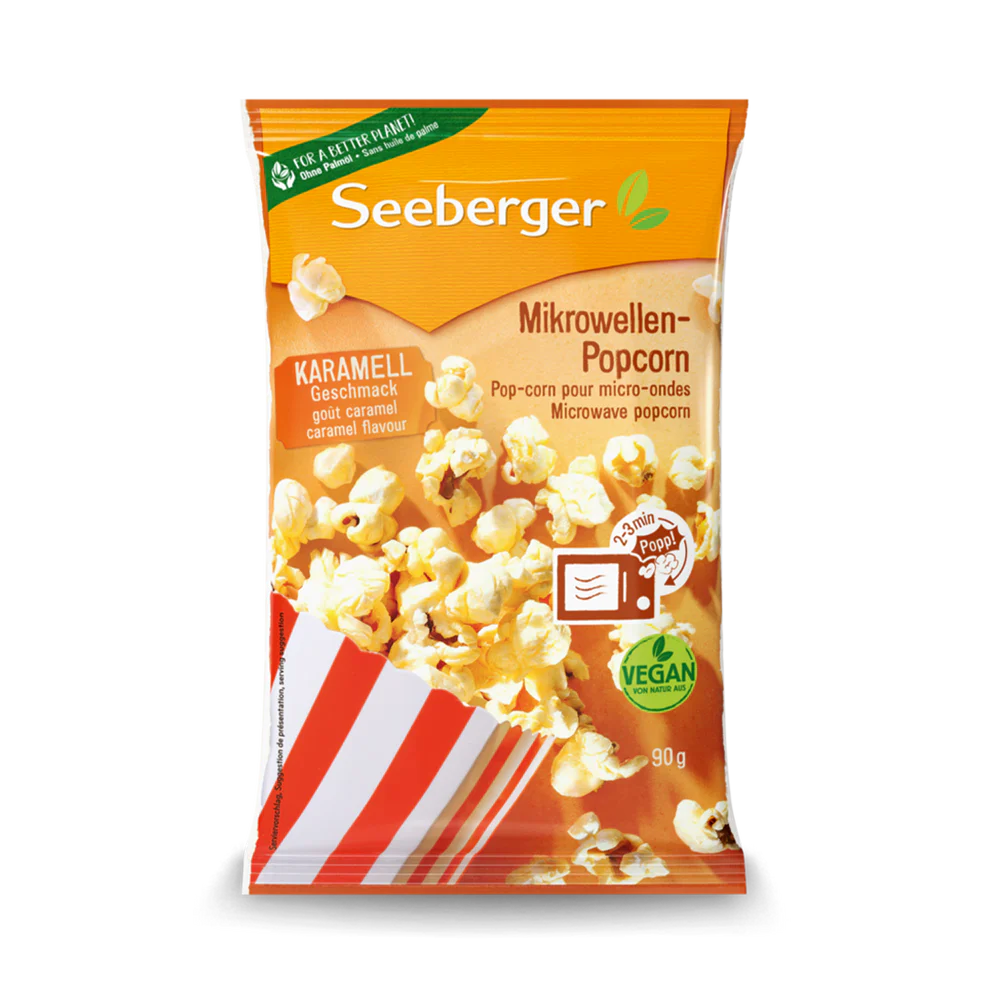
And Microwave Popcorn Makers?
Silicone or glass microwave poppers are fantastic for regular popcorn, but they struggle with kettle corn. It’s incredibly difficult to get the sugar to melt and coat the kernels evenly without scorching it in the microwave’s intense, uneven heat. It’s a recipe for disappointment.
|
Our Picks for the Best Popcorn Maker in 2025
As an Amazon Associate, we earn from qualifying purchases.
|
||
| Num | Product | Action |
|---|---|---|
| 1 | Ecolution Patented Micro-Pop Microwave Popcorn Popper with Temperature Safe Glass, 3-in-1 Lid Measures Kernels and Melts Butter, Made Without BPA, Dishwasher Safe, 3-Quart, Red |

|
| 2 | Elite Gourmet EPM330M Automatic Stirring 12-cup Popcorn Maker Popper, Hot Oil Popcorn Machine w/Measuring Cap & Built-in Reversible Serving Bowl, Great for Home Party Kids, Safety ETL Approved, Mint |
|
| 3 | DASH Hot Air Popcorn Popper Maker with Measuring Cup to Portion Popping Corn Kernels + Melt Butter, 16 Cups - Red |
|
| 4 | West Bend Stir Crazy Hot Oil Popcorn Popper, Popcorn Maker Machine with Large Serving Bowl Lid and Stirring Rod Perfect for Movie Night Snack Time or Parties, 6-Quart, Red |
|
| 5 | West Bend Stir Crazy Movie Theater Popcorn Popper, Gourmet Popcorn Maker Machine with Nonstick Popcorn Kettle, Measuring Tool and Popcorn Scoop for Popcorn Machine, 4-Qt., Red |
|
| 6 | DASH SmartStore™ Deluxe Stirring Popcorn Maker, Hot Oil Electric Popcorn Machine with Large Lid for Serving Bowl and Convenient Storage, 24 Cups – Aqua |
|
| 7 | Popcorn Machine – 800W Electric Hot Oil Popcorn Maker with Non-Stick Plate, Lid & Stirrer – Large 24-Cup Popper for Home, Parties, Movie Night – Butter, Sugar & Spice Compatible (Red) |
|
| 8 | DASH Hot Air Popcorn Popper Maker with Measuring Cup to Portion Popping Corn Kernels + Melt Butter, 16 Cups - Aqua |
|
| 9 | Air Popper Popcorn Maker, 1200W Fast Making Electric Popcorn Machine with Measuring Cup and On/Off Switch, BPA Free, Oil-Free, ETL Certified 90% High Popping Rate Popcorn Popper for Home, Party, Movie |
|
| 10 | Presto 04820 Poplite Hot Air Popcorn Popper - Built-In Measuring Cup + Melts Butter, Easy to Clean, Built-In Cord Wrap, 18 Cups, Yellow |
|
The Ultimate Guide: How to Make Kettle Corn at Home
Ready to transform your kitchen into the star attraction of the state fair? Grab your apron and your stovetop or electric stirring popcorn maker. Let’s do this.
Step 1: Gather Your Ingredients
Simplicity is the soul of kettle corn. You only need four basic ingredients. The quality of these will make a big difference, so choose wisely!
- Popcorn Kernels: 1/2 cup. Yellow or white kernels both work great. Yellow kernels tend to pop up a bit larger and are sturdier, which is great for holding the sugar coating.
- Neutral Oil: 3 tablespoons. You need an oil with a high smoke point. Coconut oil is the classic choice and imparts a fantastic flavor. Canola, vegetable, or grapeseed oil are also excellent options. Avoid olive oil or butter, as they will burn.
- Granulated White Sugar: 1/4 cup. Plain white sugar works best for that classic crisp coating. You can adjust this amount slightly depending on your sweet tooth.
- Fine-Grain Salt: 1/2 teaspoon. Fine salt adheres to the popcorn much better than coarse or kosher salt.
Expert Tip: According to Chef Amelia Hawthorne, a culinary product developer, “The secret to truly great kettle corn is the oil. Refined coconut oil not only has the high smoke point needed to prevent burning, but it also provides a subtle, clean sweetness that complements the sugar without overpowering the natural corn flavor.”
Step 2: The Step-by-Step Popping Process
Timing is everything. Read these steps once through before you start so you know what’s coming. The process is fast!
- Prep Your Station: Get a very large bowl ready and place it right next to your stove. Once the popcorn is done, you need to get it out of the hot popper immediately to prevent the residual heat from burning the sugar.
- Heat the Oil: Add the oil and just 3-4 popcorn kernels to your popcorn maker. Place it on the stove over medium-high heat.
- Wait for the Test Pop: Listen for those first few kernels to pop. This is your signal that the oil has reached the perfect temperature.
- Add the Good Stuff: Now, working quickly, add the rest of your popcorn kernels and the sugar. Give the crank a few quick turns (or let the electric stirrer do its thing) to mix everything together.
- Get Popping (and Stirring)! Place the lid on and begin turning the crank continuously at a steady pace. Don’t stop! The kernels will soon begin popping in earnest. Continue stirring throughout the entire popping process.
- Listen Carefully: The sound of the popping will be your guide. Once the popping slows down to about 2-3 seconds between pops, it’s time for action.
- Dump Immediately! Instantly remove the popcorn maker from the heat and dump the contents into your large bowl. The sugar is molten hot, so be careful.
- Add the Salt: Immediately sprinkle the salt over the hot kettle corn and toss it gently to combine. Tossing while it’s still hot helps the salt stick and breaks up any large clumps.
Let it cool for a minute or two before diving in. The sugar coating will harden into a perfectly crisp shell as it cools.
Pro-Tips for Kettle Corn Perfection
- Don’t Scorch the Sugar: The most common mistake is adding the sugar too early or not stirring enough. Wait until your test kernels pop before adding the sugar and the rest of the kernels. And whatever you do, never stop stirring.
- Manage Your Heat: If your stove runs particularly hot, medium heat might be better than medium-high. The goal is to pop the corn before the sugar has a chance to burn.
- Break Up Clumps: As you toss the kettle corn in the bowl, use your spatula or spoon to gently break up any large clumps that form while the sugar is still warm.
- Experiment with Flavors: Once you’ve mastered the classic recipe, feel free to add a pinch of cinnamon to the sugar for a warm, spicy twist.
How to Clean Your Popcorn Maker After Making Kettle Corn
Cleaning up after kettle corn can seem daunting, but it’s easy if you do it right away. The key is to clean the popper while it’s still warm (but cool enough to handle safely).
- Fill the popper with hot water and a few drops of dish soap.
- Let it soak for 10-15 minutes. This will dissolve any residual sugar.
- Use a non-abrasive sponge or cloth to wipe the interior clean.
- Rinse thoroughly and dry completely before storing. Never use steel wool or harsh scouring pads, as they can damage the surface.
Frequently Asked Questions (FAQ)
Why did my kettle corn turn out chewy instead of crispy?
Chewy kettle corn is usually a result of moisture. This can happen if steam gets trapped in the popper (make sure your lid is vented) or if you cover the bowl of finished popcorn while it’s still hot. Let it cool completely in an open bowl to ensure it gets crispy.
Why did my kettle corn burn?
There are three likely culprits: the heat was too high, you added the sugar too early, or you didn’t stir continuously. Constant motion is the most critical factor in preventing the sugar from settling on the bottom and burning.
Can I use brown sugar instead of white sugar?
You can, but be very careful. Brown sugar has a higher molasses content and will burn much more quickly than white sugar. You’ll need to use a lower heat and be extra vigilant with your stirring. The final texture will also be slightly softer.
How do I store leftover kettle corn?
In the unlikely event you have leftovers, store them in an airtight container at room temperature. It should stay fresh and crispy for 2-3 days. If it loses some crunch, you can spread it on a baking sheet and bake it at 250°F (120°C) for about 5 minutes to crisp it back up.
What are the best kernels for kettle corn?
While any standard kernel will work, many enthusiasts prefer yellow “mushroom” style kernels. They pop into a large, round shape that provides more surface area for the sweet and salty coating to cling to, creating an extra-crunchy result.
Your Movie Nights Will Never Be the Same
There you have it—everything you need to know about how to make kettle corn at home. By using a dedicated stirring popcorn maker and following these simple steps, you can leave behind the burnt pans and disappointing results for good. You’ll be creating bowls of perfectly sweet, perfectly salty, and incredibly crunchy kettle corn that tastes even better than the kind you buy at the fair. So go ahead, give it a try. Your friends, your family, and your taste buds will thank you.
We’d love to hear about your kettle corn adventures! Share your favorite tips or flavor twists in the comments below.